


Home » How to Create and Sell Courses
Congratulations on receiving your ‘Expert’ badge and becoming an Instructor. To get started, check that you have Wellbee AI also enabled and you have access to all her help! Look for Wellbee AI in the bottom right corner of your screen. If you don’t see Wellbee AI, please email the Wellbee Social Team to get that activated asap!
In order to receive your earnings, please provide your PayPal email account in your Instructor Dashboard by following this link: PayPal Settings. See your Course Earnings in your Instructor Dashboard, under Commissions. PayPal payouts for courses will be sent on a 15 day cycle to accommodate for Learner refunds. To learn more about Payouts, please review our Instructor Terms.
Let’s begin creating your course! Access your Instructor Dashboard, and click on “+ Create a New Course” from the Menu.
Note: It is recommended to only use Google Chrome browser to build your course. If you do not have Google Chrome, please get it here.
Add the introductory details to your Course. This will appear on your Course Front Page.
Course Tags are descriptors to your Course. For example, “Beginner-Friendly”, “Professional Development” or “On Sale”. Course Categories help to filter the courses around their respective disciplines. Feel free to add new tags and/or categories as is relevant to your course.
Click on the Builder Tab to start building your course. Add Section Headings to organize your Course.
Alternatively, if you’ve already created lessons before for another course, you can add and drop pre-existing lessons from your Course Content Library on the right! Creating additional courses has never been easier!
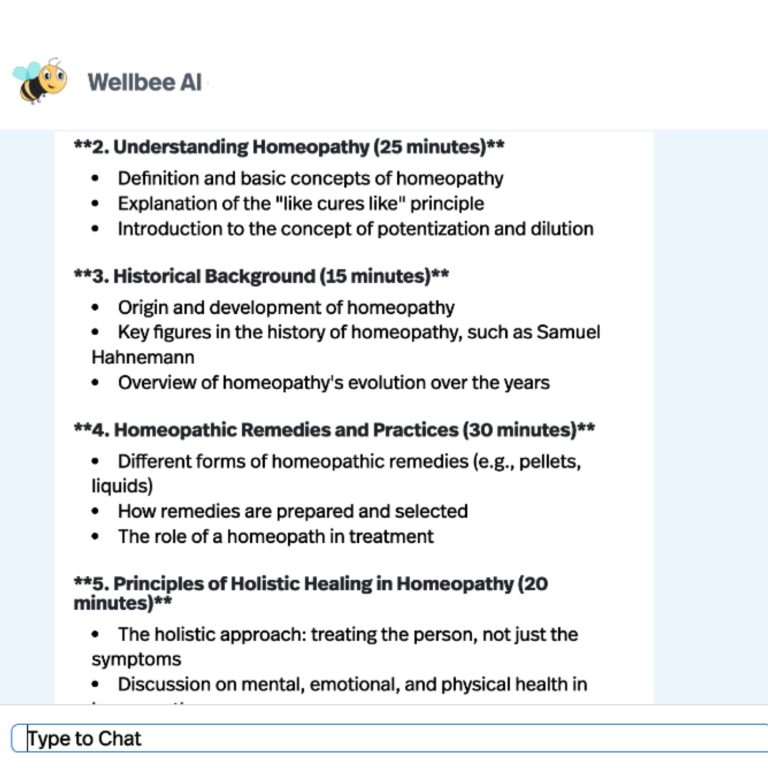
Here’s an example of Wellbee AI helping me with an outline for an Intro to Homeopathy Course.
Click on the Media Icon to add media directly to your lessons.
Click on the arrow to expand the Lesson options. Choose between Adding a New Topic, or Adding a New Quiz.
For quizzes, you can select a variety of Quiz types: Multiple choice, open-ended essays, sorting, fill in the blanks, and more.
You can either select a Quiz that’s already been created from your Course Content Builder or Create a New Quiz. If you click on Add New Quiz then it opens the Quiz Builder on a new tab.
It’s import to Save Your Course Draft at this point before creating a new quiz and opening the Quiz Builder.
Follow the same procedure as in the Course Builder. Give your Quiz a Title, Featured Image and Quiz Description. Once you select the Builder Tab you can add Questions to your Quiz.
Use the Answer Tab to add answers to your quiz for automatic grading. You can assign points, or give a hint to your questions.
The slideshow below (viewable only on tablet or desktop devices) shows steps to create your new quiz!
Please note: At this time, the Essay/Open Answer type of quiz is still under development and not available for use as of yet.
Back in the Course Builder, you can select your course access settings. You can select whether the course is Free or Closed.
Closed courses require you to add a Price and a Course URL. When you’re publishing the course, leave this empty. We will return here after we have linked a product to the course for sale.
You can also add in any course prerequisites, course points, and/or course access expiration dates. If you plan on collaborating with other instructors on a course, select the instructor from the Share Course Settings.
On the next step: Link your course to the product. In the drop down menu select your course. This allows Learners who purchase your Course to get access to your Course.
Finish off creating the Product with your Course Description (copy/paste from your Course Description Page) and Publish.
Once you click Publish on creating your product, click on that link, and copy the URL. This is a crucial step that allows users to enrol in your course once they purchase it!
Now go to your Course Settings, and paste your product URL under the course price.
Your Course is now successfully published and you have linked it as a ‘Product’ to purchase! Excellent work!

Wellbee Social Inc. ("Wellbee Social", "Wellbee Academy", and "Wellbee Events) uses cookies only to improve functionality and performance. We do not use tracking cookies or collect data for advertising purposes. By clicking 'Accept' you agree to our basic cookie usage. Read our Privacy Policy